


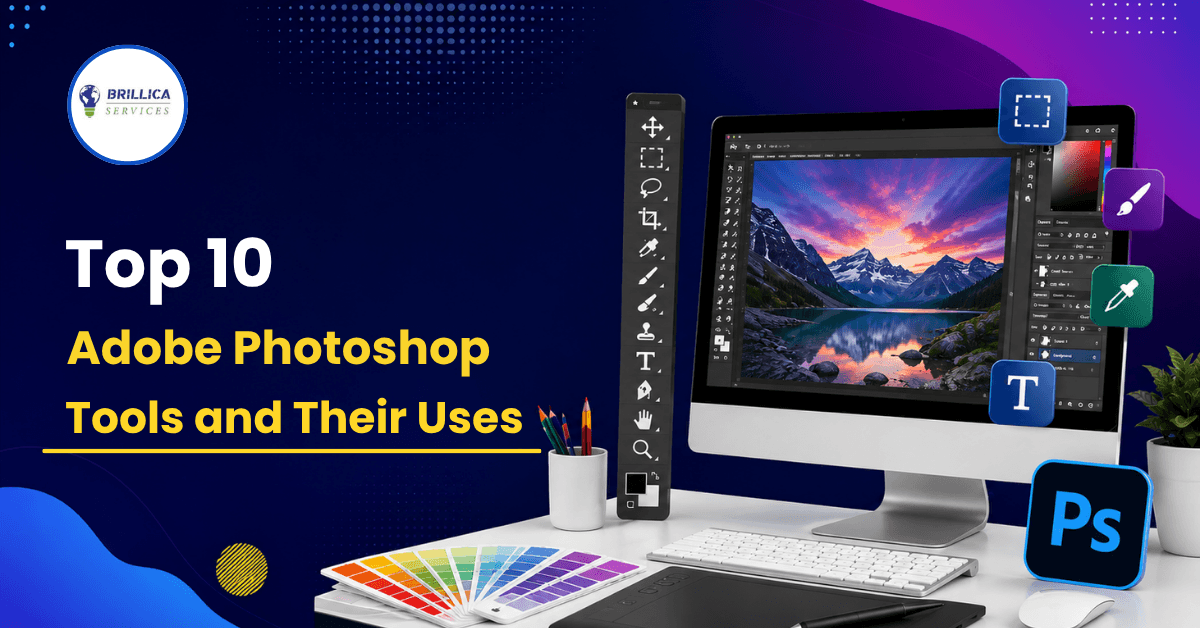
Adobe Photoshop is one of the most popular software programs for photo editing, graphic design, social media posts, banners, thumbnails, and other creative work. If you are new to Photoshop, the large number of Photoshop tools can feel confusing at first. Learning what each tool does and when to use it can make your work much easier and faster.
In this guide, we will explain the top 15 Adobe Photoshop tools and their uses. You will learn important Photoshop tool names, their functions, and practical examples. Whether you are a student, beginner, or business owner who wants to create better designs, this Photoshop tool list will help you build a strong foundation.
What Are Photoshop Tools?
Photoshop tools are features that help you edit images, create designs, select objects, remove unwanted areas, add text, draw shapes, and make other changes to an image. Most of these tools are available in the Tools panel, usually located on the left side of the Photoshop workspace.
Each Photoshop tool has a specific purpose. For example, the Crop Tool helps you change the size or composition of an image, while the Brush Tool lets you paint and create digital artwork. Some tools also have hidden options that appear when you right-click or press and hold the tool icon. Understanding these options is important because the same tool can often be used for several different design tasks.
Top 15 Photoshop Tools and Their Uses
1. Move Tool
The Move Tool is one of the first tools beginners should learn. It allows you to move an image, selected object, text, shape, or layer from one position to another. You can simply select the layer you want to move and drag it around the canvas.
For example, if you are creating a social media post and your logo is placed in the wrong position, you can use the Move Tool to place it exactly where you want. It is also useful for arranging different design elements and creating balanced layouts.
Main use: Moving layers and objects around the canvas.
2. Marquee Tool
The Marquee Tool is used to make simple selections. It allows you to select rectangular, square, elliptical, or circular areas of an image. Once an area is selected, you can edit, copy, delete, fill, or adjust only that selected part.
For example, you can use the Rectangular Marquee Tool to select a particular part of a photograph and copy it to another layer. The Elliptical Marquee Tool can also be useful when you need to create a circular selection for a profile image or design element.
Main use: Creating rectangular and elliptical selections.
3. Lasso Tool
The Lasso Tool is useful when you want to make a freehand selection. Unlike the Marquee Tool, it does not limit you to a particular shape. You can draw around an object or area using your mouse or a graphics tablet.
Photoshop also provides variations such as the Polygonal Lasso Tool and Magnetic Lasso Tool. These options can help when selecting objects with straight edges or areas that have a clear contrast with their background.
Main use: Making freehand and detailed selections.
4. Object Selection Tool
The Object Selection Tool helps you select a particular object from an image. It is especially useful when you want to separate a person, product, vehicle, or other visible object from its surroundings.
You can draw a box or rough selection around the object, and Photoshop can detect the object within that area. This can save beginners a lot of time compared with manually selecting every part of an object.
Main use: Quickly selecting individual objects in an image.
5. Crop Tool
The Crop Tool is one of the most commonly used tools in Photoshop. It allows you to remove unwanted areas from the edges of an image and improve its overall composition.
The Crop Tool is also useful for preparing images for websites, advertisements, Instagram posts, banners, and other platforms. You can select a specific aspect ratio when you need an image in a particular size or shape.
Main use: Cropping and improving image composition.
6. Magic Wand Tool
The Magic Wand Tool is designed to select areas based on similar colors. It can be very helpful when an image has a simple background or clearly separated colors.
For example, if you have a product photo with a plain white background, the Magic Wand Tool can help you select the background quickly. You can then remove it or replace it with another background.
Main use: Selecting areas with similar colors.
7. Quick Selection Tool
The Quick Selection Tool allows you to paint over an area to create a selection. Photoshop automatically looks for edges and similar areas as you move the tool across the image.
It is useful for selecting people, products, clothing, objects, and other subjects. Beginners often find it easier to use than making selections completely by hand.
Main use: Quickly selecting subjects and areas of an image.
8. Eyedropper Tool
The Eyedropper Tool helps you pick a color directly from an image. When you click on a particular area, Photoshop identifies that color and sets it as your selected color.
This tool is very useful for graphic designers who want to maintain consistent colors. For example, you can pick the exact color from a company logo and use the same color for text, shapes, or backgrounds in a design.
Main use: Picking colors directly from an image.
9. Brush Tool
The Brush Tool is one of the most important tools in Adobe Photoshop. It allows you to paint on a layer using different brush sizes, shapes, and settings. Designers use it for digital painting, retouching, masks, shadows, highlights, and creative effects.
You can change the brush size, hardness, opacity, and other settings according to your project. With practice, the Brush Tool can become a powerful part of your Photoshop workflow.
Main use: Painting, retouching, masking, and creative design.
10. Clone Stamp Tool
The Clone Stamp Tool is mainly used for photo retouching. It allows you to copy pixels from one part of an image and paint them onto another area.
For example, you can use it to remove a small unwanted object from a photograph by copying a clean area nearby. It is also useful for repairing damaged images and creating a smoother background.
Main use: Removing unwanted objects and repairing image areas.
11. Eraser Tool
As the name suggests, the Eraser Tool is used to remove parts of a layer. You can adjust its size, hardness, and opacity to control how much of the image you want to erase.
Beginners often use the Eraser Tool for simple editing tasks. However, for professional editing, layer masks are often preferred because they allow you to hide parts of a layer without permanently deleting them.
Main use: Removing or hiding unwanted parts of a layer.
12. Gradient Tool
The Gradient Tool allows you to create a smooth transition between two or more colors. It can be used to create backgrounds, lighting effects, overlays, and attractive design elements.
For example, instead of using a single-color background for a social media graphic, you can create a gradient between two brand colors. This can make a simple design look more visually interesting.
Main use: Creating smooth color transitions and backgrounds.
13. Type Tool
The Type Tool is used to add text to Photoshop designs. It is essential for creating posters, advertisements, social media graphics, banners, thumbnails, brochures, and other marketing materials.
You can change the font, size, color, alignment, spacing, and other text settings. Photoshop provides both horizontal and vertical text options, making the Type Tool useful for different design layouts.
Main use: Adding and formatting text.
14. Pen Tool
The Pen Tool is a powerful tool for creating accurate paths and selections. It is widely used by graphic designers when they need clean and precise edges.
For example, you can use the Pen Tool to create a path around a product and separate it from its background. It is also useful for creating custom shapes and vector-style designs. Although it can take some practice, learning the Pen Tool is valuable for anyone serious about graphic design.
Main use: Creating precise paths, selections, and shapes.
15. Shape Tool
The Shape Tool allows you to create basic shapes such as rectangles, circles, lines, polygons, and custom shapes. These shapes can be used to build layouts, buttons, icons, banners, cards, and other graphic elements.
For example, a designer can use rectangles and circles to create a simple social media post layout. Shapes can also be combined with text, images, colors, and effects to create professional designs.
Main use: Creating shapes and design elements.
Photoshop Tools and Functions at a Glance
Photoshop Tool | Main Function |
Move Tool | Moves layers and objects |
Marquee Tool | Creates basic selections |
Lasso Tool | Creates freehand selections |
Object Selection Tool | Selects individual objects |
Crop Tool | Crops and straightens images |
Magic Wand Tool | Selects similar colors |
Quick Selection Tool | Quickly selects subjects |
Eyedropper Tool | Picks colors from images |
Brush Tool | Paints and retouches images |
Clone Stamp Tool | Copies pixels for retouching |
Eraser Tool | Removes parts of a layer |
Gradient Tool | Creates color transitions |
Type Tool | Adds and edits text |
Pen Tool | Creates precise paths |
Shape Tool | Creates shapes and design elements |
Benefits of Learning Adobe Photoshop Tools
Learning the basic Adobe Photoshop tools can make your design work faster and more organized. Instead of trying random options, you will know which tool is suitable for a particular task. This is especially helpful for students who are learning graphic design for the first time.
Photoshop skills can also be useful for business owners. You can create social media posts, promotional banners, product images, website graphics, and marketing materials with better control over the final design. For professional designers, understanding Photoshop tool functions is an important step toward creating high-quality visual content.
Tips for Beginners Learning Photoshop Tools
Do not try to learn every Photoshop tool in one day. Start with basic tools such as the Move, Crop, Brush, Type, Marquee, and Shape Tools. Once you understand these, gradually move toward more advanced tools such as the Pen Tool, Clone Stamp Tool, and detailed selection tools.
The best way to learn Photoshop is through practice. Take one image and try different tools on separate layers. Experiment with selections, colors, text, shapes, and retouching. Also, use keyboard shortcuts where possible because they can significantly improve your workflow once you become comfortable with them.
Why Photoshop Skills Are Important for Graphic Design
Graphic design is used across websites, social media, advertising, branding, e-commerce, and digital marketing. Photoshop remains a useful skill for creating and editing visual content for these areas. Knowing the Photoshop tool list is only the first step; understanding how to combine different tools is what helps you create better designs.
For students and beginners, learning Photoshop can also help build a portfolio. You can practice by creating posters, social media posts, product advertisements, YouTube thumbnails, website banners, and photo edits. These projects can later become examples of your work when applying for internships or graphic design jobs.
Conclusion
Knowing the right Photoshop tools and functions can make photo editing and graphic design much easier. From the simple Move and Crop Tools to advanced options such as the Pen and Clone Stamp Tools, every tool has a specific purpose. Start with the basic tools, practice regularly, and slowly explore more advanced features as your skills improve.
If you want to learn Photoshop professionally and build practical graphic design skills, Brillica Services provides the best Graphic Design course in Dehradun, with practical training designed to help students develop industry-ready skills. Enroll in a graphic design course and start building your design portfolio with hands-on projects.